Top 5 Essential Plant Care Hacks Every Plant Mom Needs
When I first started building my urban jungle, I made a lot of mistakes (RIP to my first cactus). Over time, I've realized that keeping plants alive isn't just about watering them when they look sad. It's about knowing a few key tricks. Here are the top 5 hacks that completely changed how I care for my plants.
Watering sounds simple, but how you do it matters.
- Bottom Watering: You place the pot in a bowl of water and let the soil soak it up from the drainage holes. This keeps the top layer of soil dry, which is the absolute best way to avoid Fungus Gnats (they lay eggs in damp topsoil).
- Top Watering: The standard way. It's faster and helps flush out salt buildup from fertilizers. If you only bottom-water, those salts can accumulate and burn the roots over time.
The Hack: I mix it up. I mostly bottom-water to keep the bugs away, and then I flush the pots from the top once a month to clear out the salts.
If you see tiny, rice-shaped larvae crawling on your leaves, or if new growth comes out looking brown and deformed, you probably have Thrips. They are the absolute worst because the adults can fly to your other plants.
The Hack: Act immediately.
- Isolate: Move the infected plant to the bathroom ASAP.
- Shower: Literally put the plant in the shower and rinse the leaves thoroughly to wash off the visible bugs.
- Predatory Mites: For a natural route, buy predatory mites. They hunt down and eat the thrips larvae.
- Systemic Insecticide: If the natural way fails, a systemic insecticide (which the plant absorbs into its leaves) is usually the most effective option to break their life cycle.
It's so tempting to buy a tiny plant and put it in a huge, stylish pot right away. Don't do it. Most houseplants actually prefer being a little tight in their pots.
The Hack: Only repot when necessary, and only go up one size.
Wait for these signs:
- Roots are actively pushing out of the bottom drainage holes.
- The soil dries out completely in just 1-2 days.
- The plant physically starts pushing itself up and out of the plastic nursery pot.
When you do repot, only choose a pot that is 2-3 cm wider than the old one. Too much extra soil holds too much water, which inevitably leads to root rot.
Calatheas are notorious for getting crispy brown edges. Because they originate from the rainforest, they crave high humidity—something our dry living rooms lack, especially during a Danish winter with the radiators blasting.
The Hack: Stop misting your plants.
Spraying water on the leaves only raises the humidity for about 5 minutes, and it can actually cause fungal infections on the leaves. Instead:
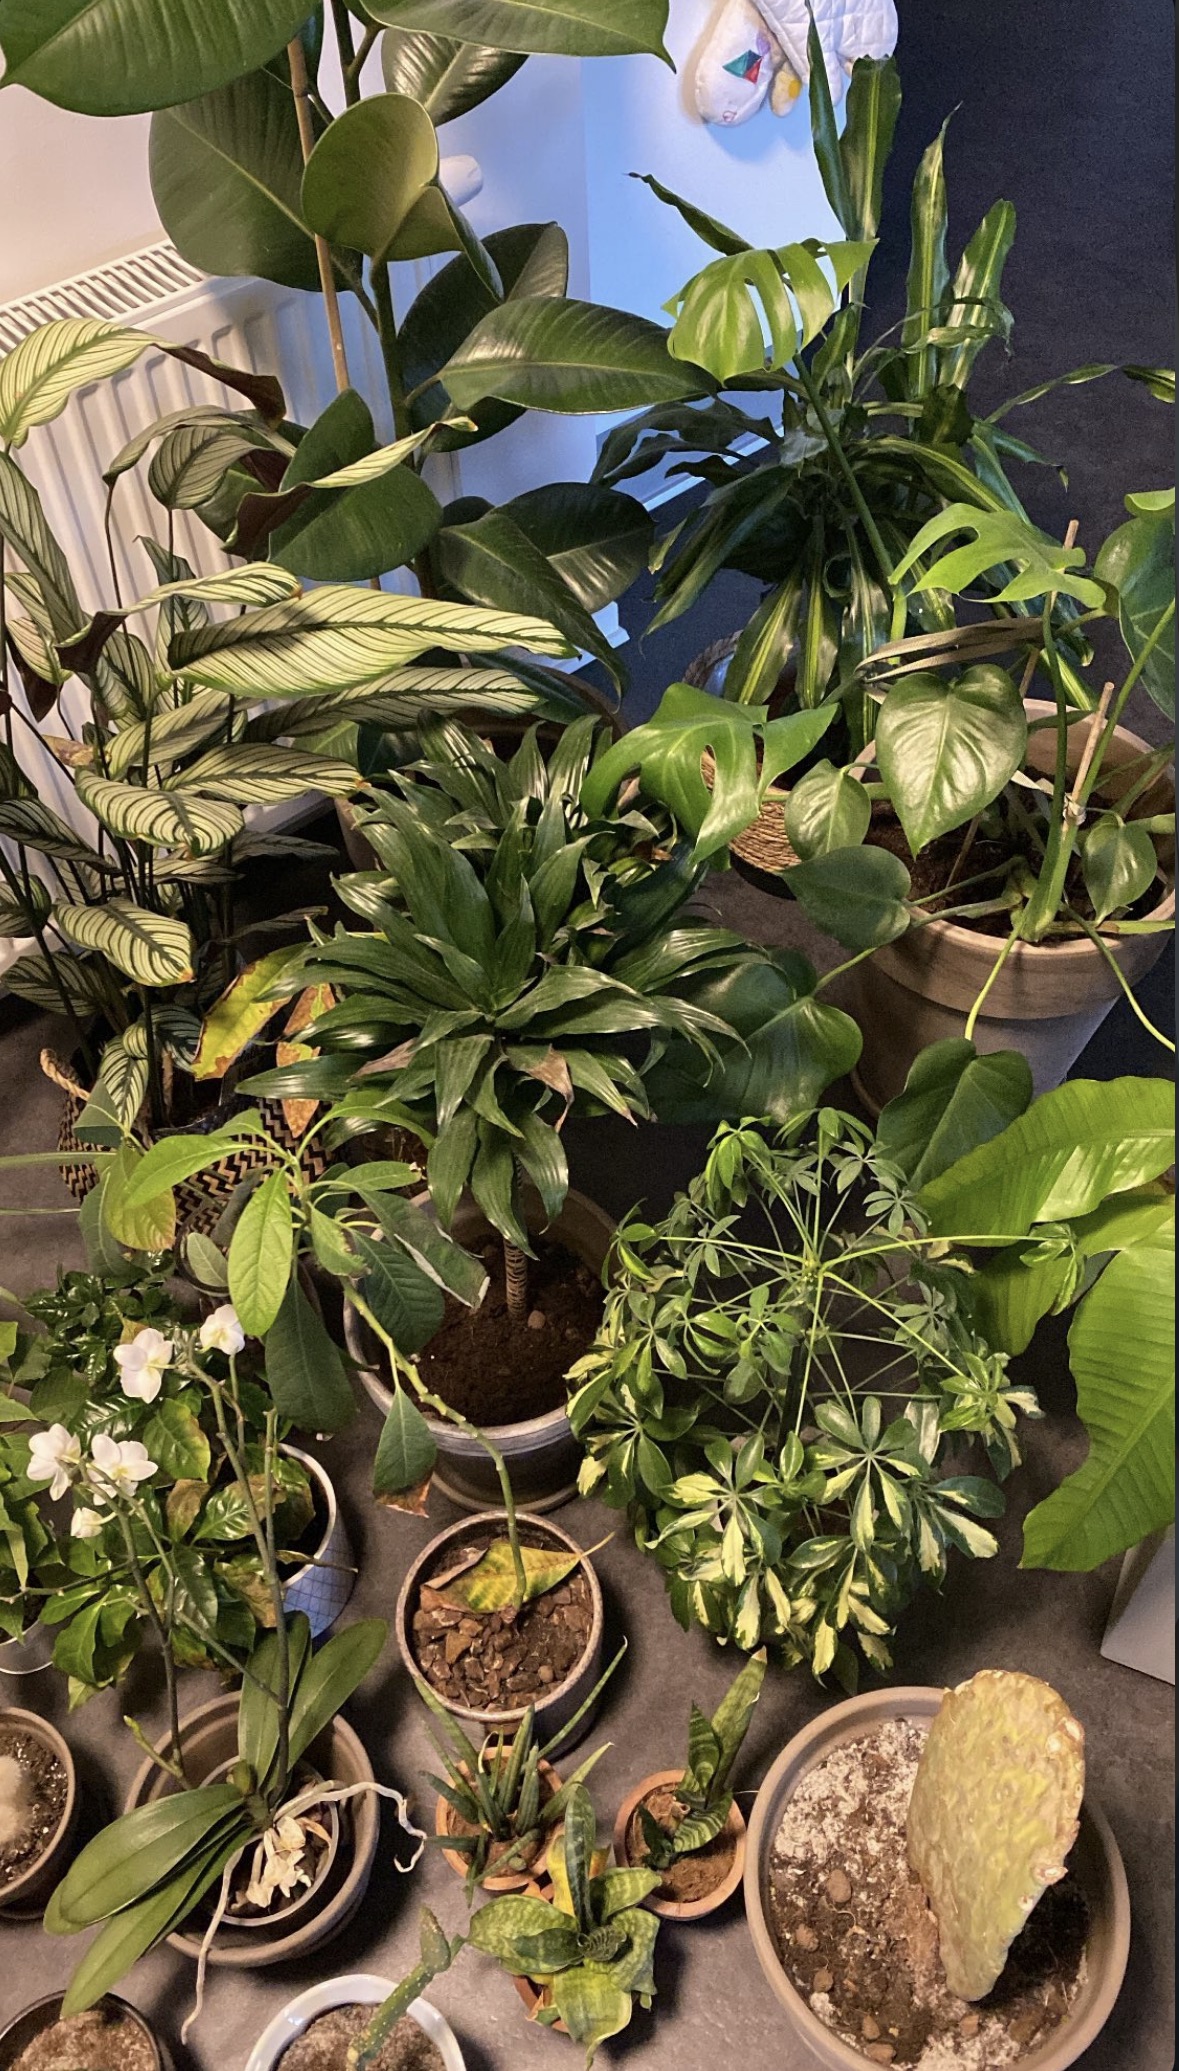
- Group plants together: Plants release moisture through their leaves. Grouping them creates a micro-climate with slightly higher humidity.
- Pebble Trays: Place the pot on a tray filled with pebbles and a little water (make sure the bottom of the pot isn't touching the water).
- Get a Humidifier: Honestly, if you want your Calatheas to look flawless, investing in a small room humidifier is the only real solution.
After dealing with root rot on one of my Alocasias, I discovered semi-hydroponics. Instead of soil, you grow the plant in LECA (Lightweight Expanded Clay Aggregate—basically baked clay balls) and water with a nutrient solution.
The Hack: Use LECA for difficult plants or rescue missions.
- Fewer Bugs: Gnats can't live and breed in clay balls.
- Oxygen Flow: The spaces between the balls ensure the roots get plenty of oxygen, drastically reducing the risk of root rot.
- Easy Watering: You just keep a reservoir of water at the bottom of the pot, and the clay wicks the moisture up to the roots. You can often go weeks without watering!
Was this post helpful?